DMP-BDT230
"Although the information we release has been verified and shown to work to the best our knowledge, we cant be held accountable for bricked devices or roots gone wrong."
This page will be dedicated to a general overview, descriptions, and information related to the Panasonic DMP-BDT230 Blu-Ray player.
Purchase
Buying devices is expensive and, in a lot of cases our testing leads to bricked equipment. If you would like to help support our group, site, and research please use one of the links below to purchase your next device. Purchase the Panasonic DMP-BDT230 Blu-Ray Player at Amazon
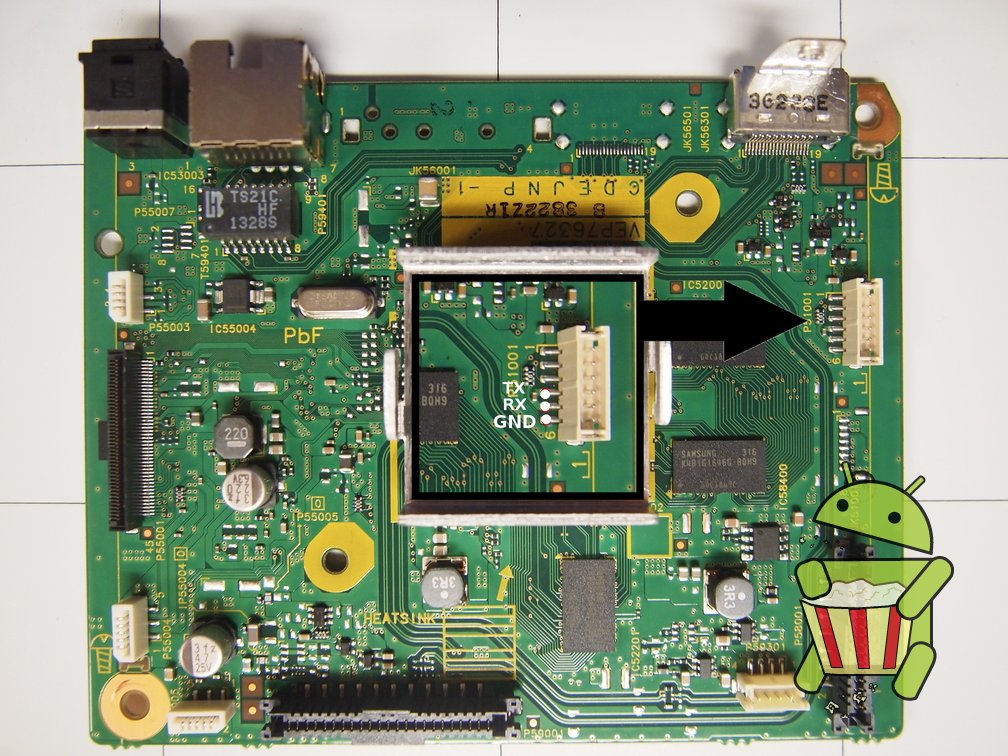
UART
The pin-out for UART can be found on the image below.
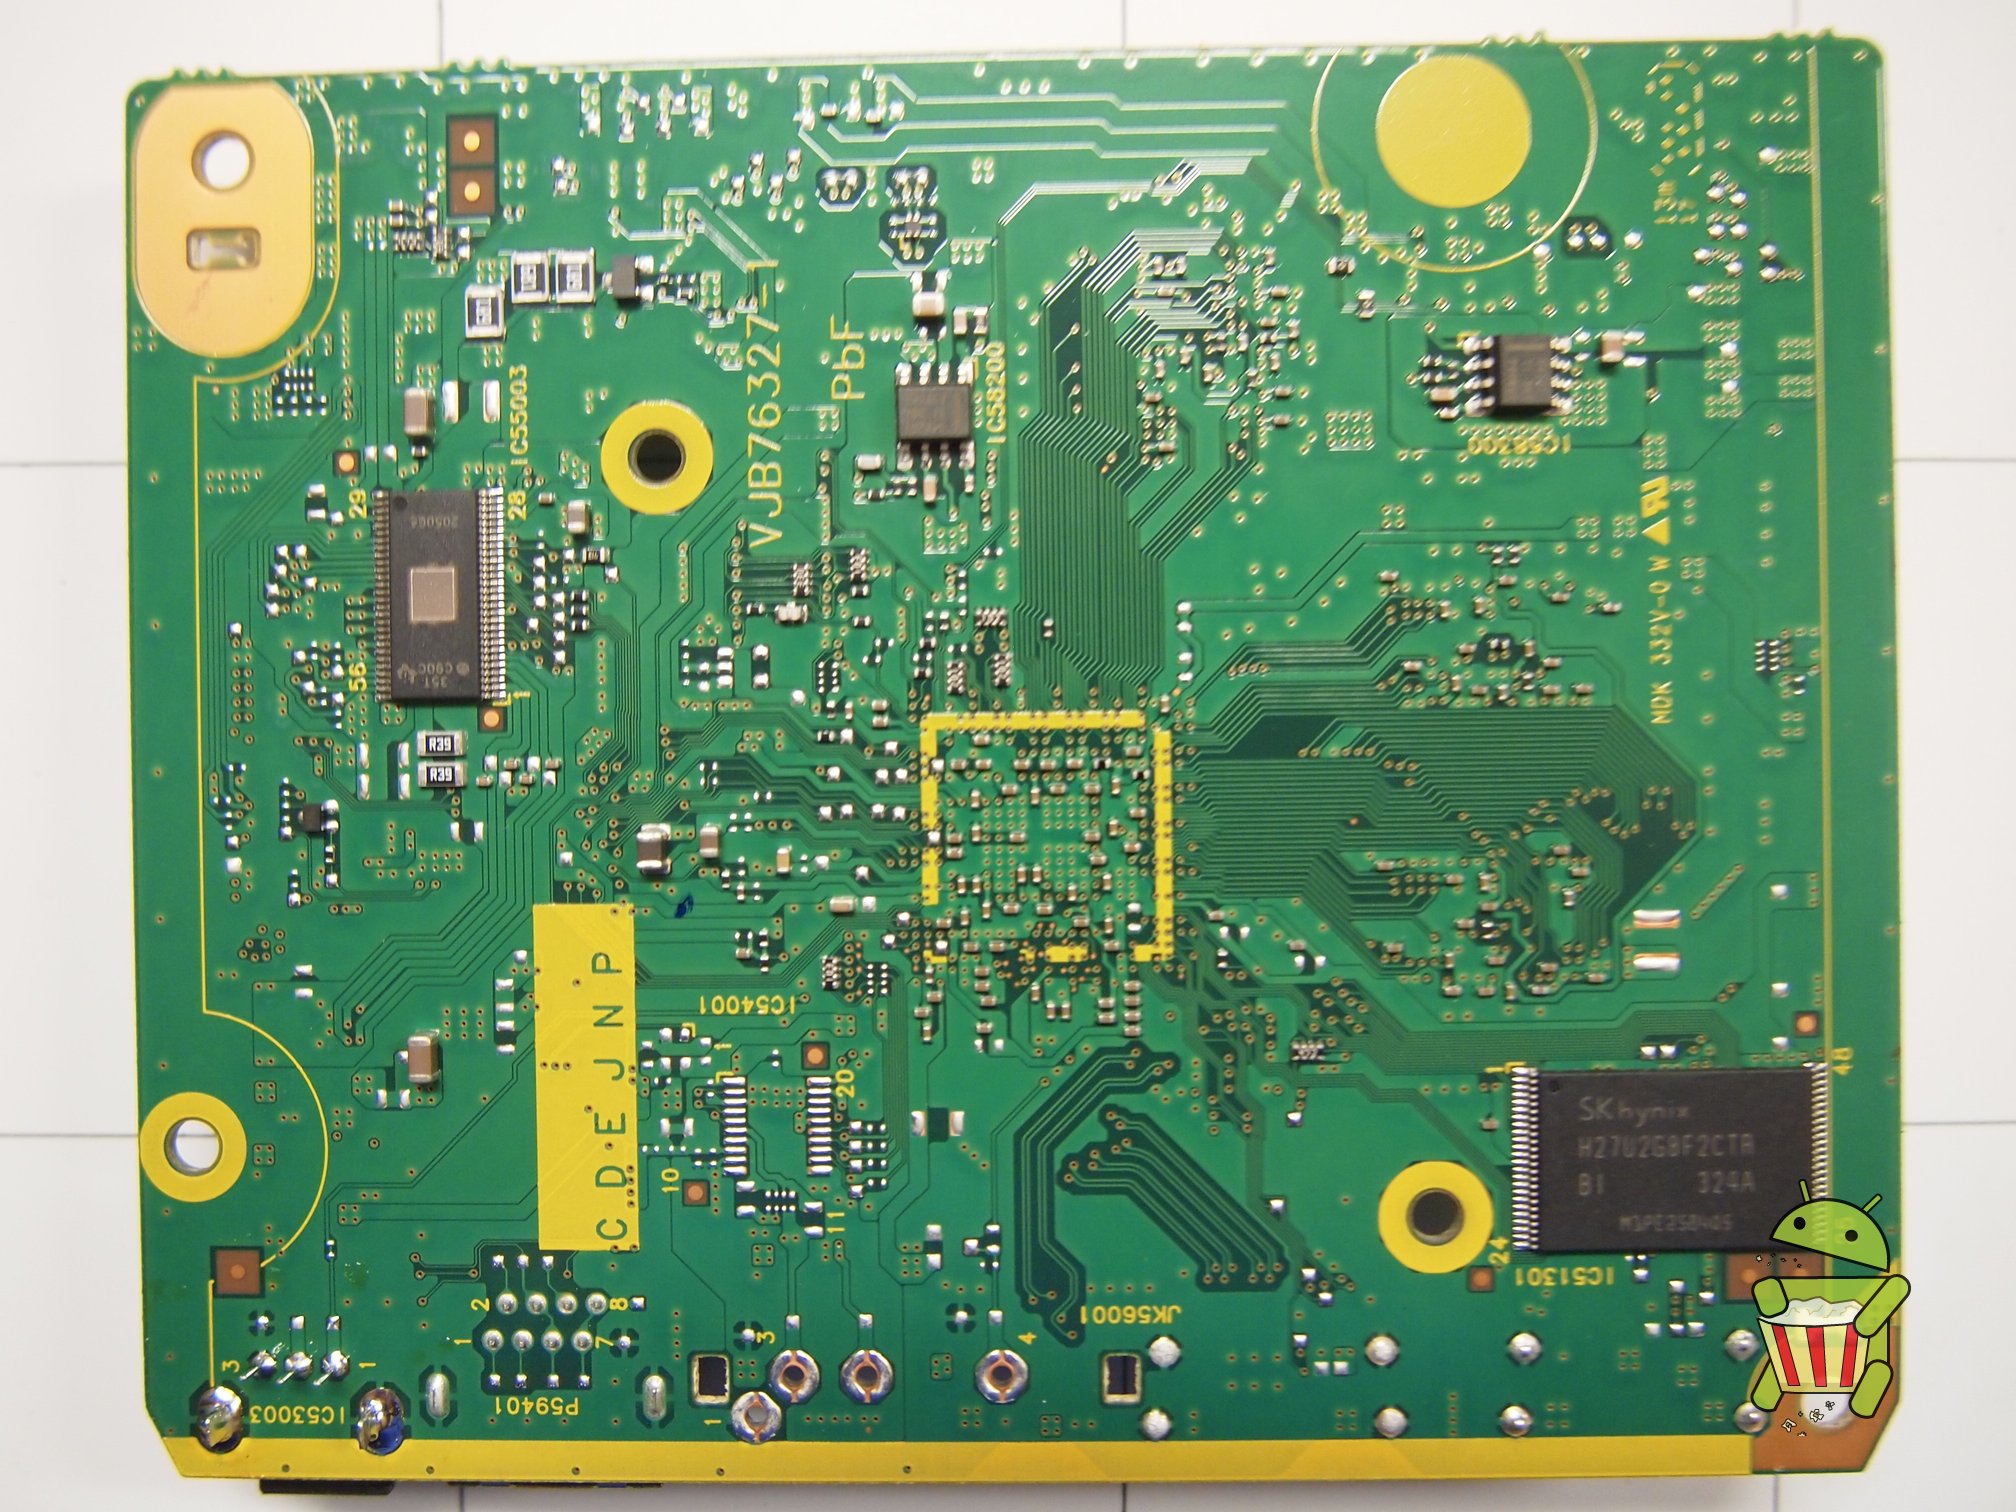
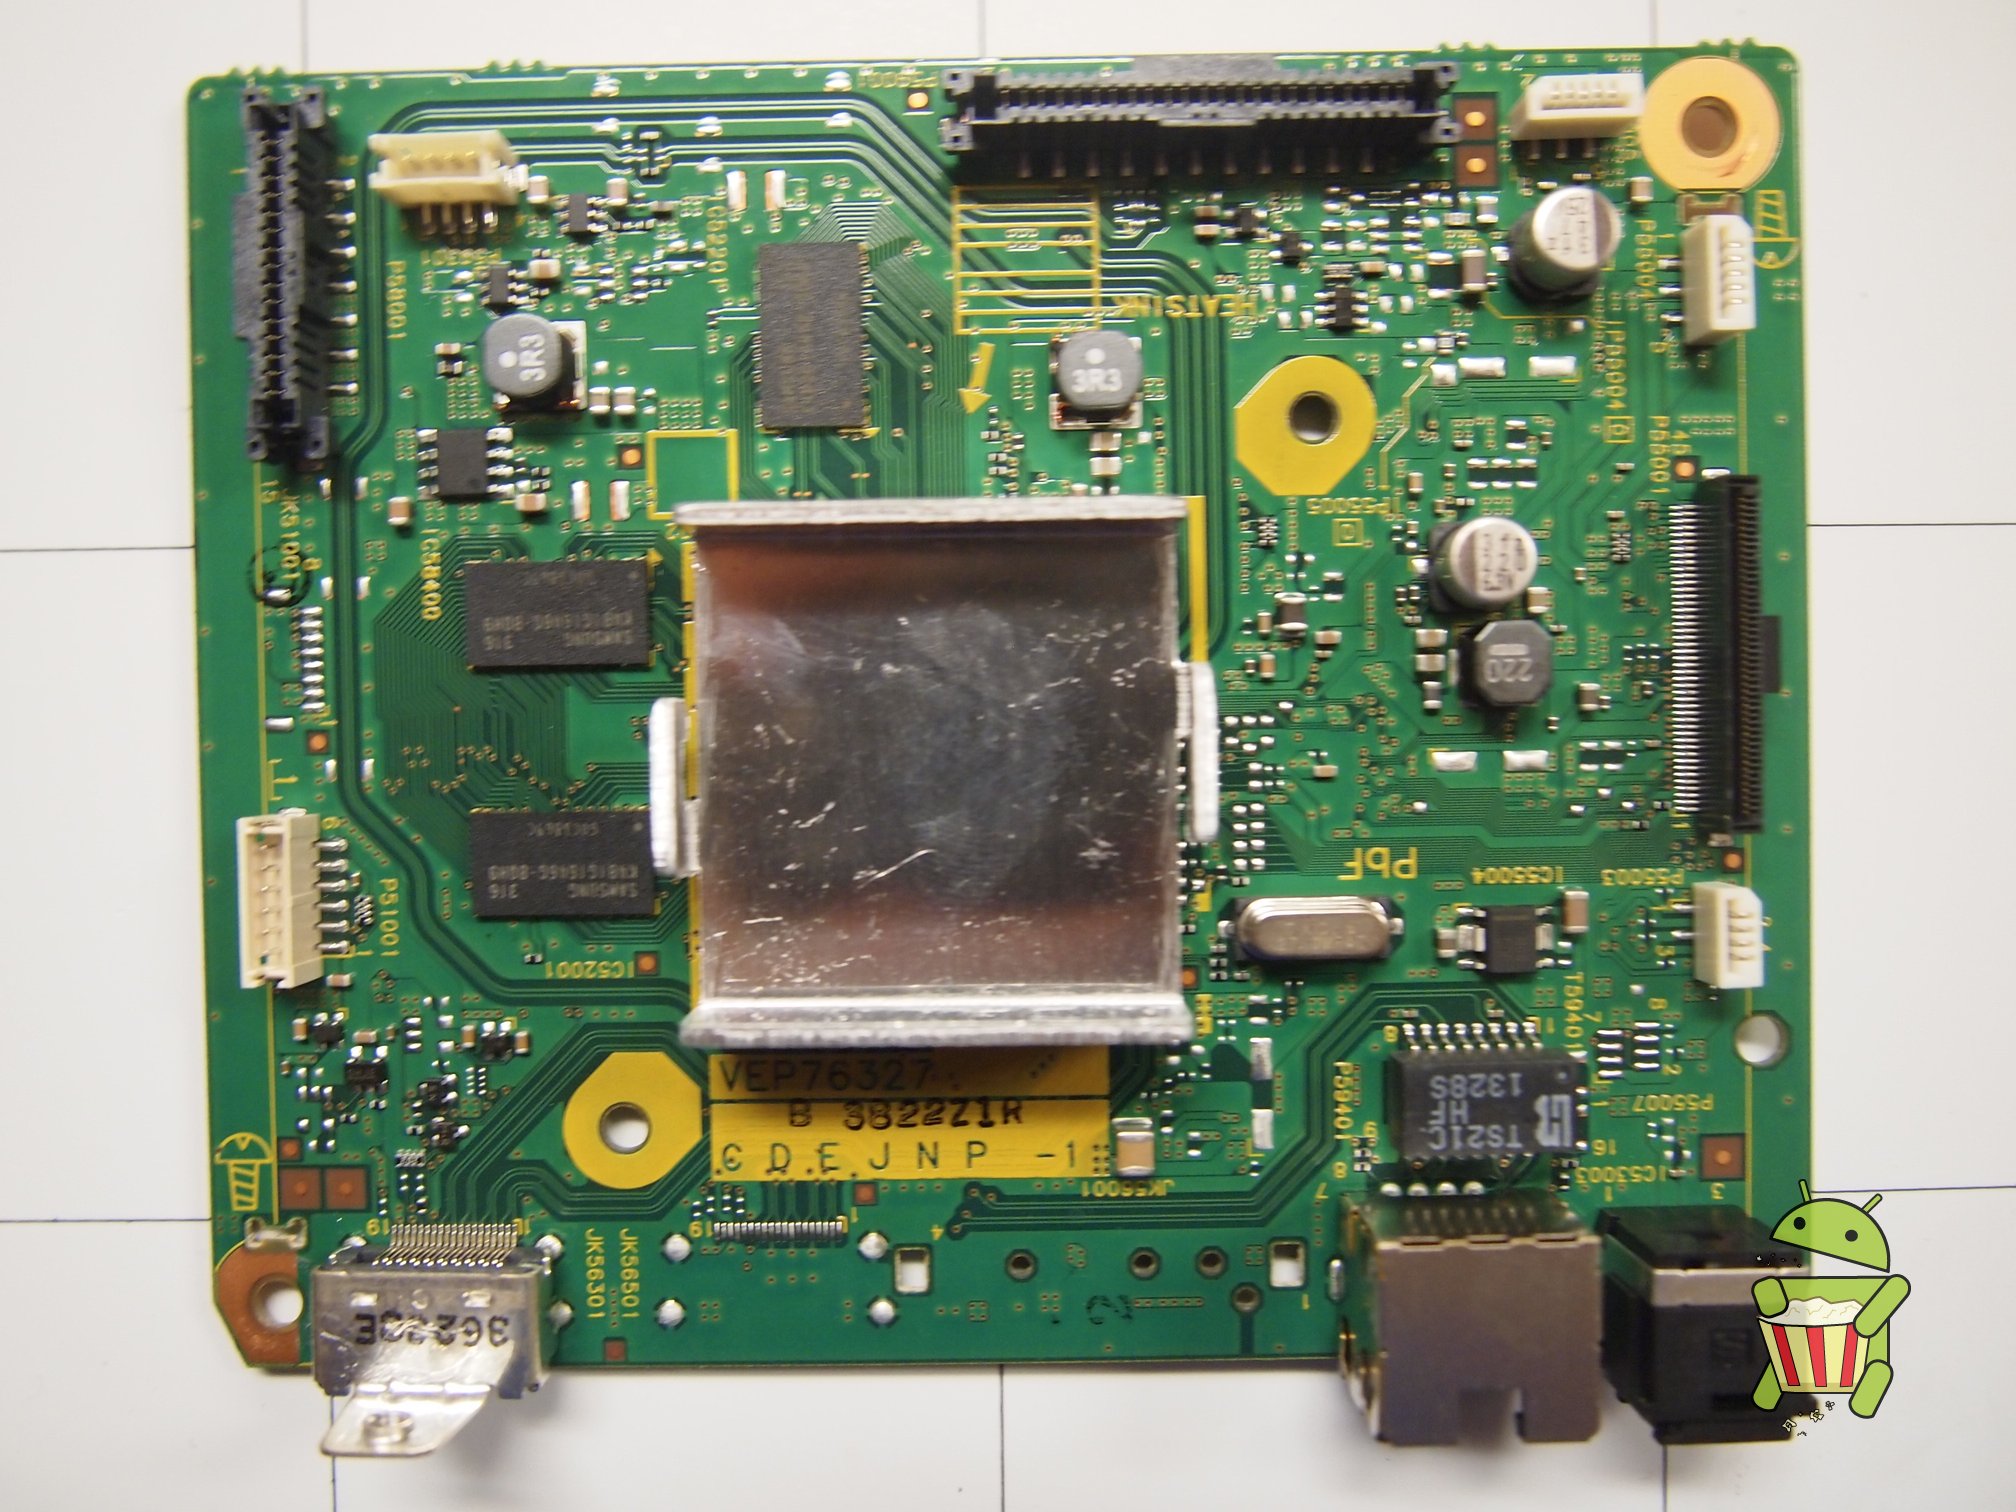
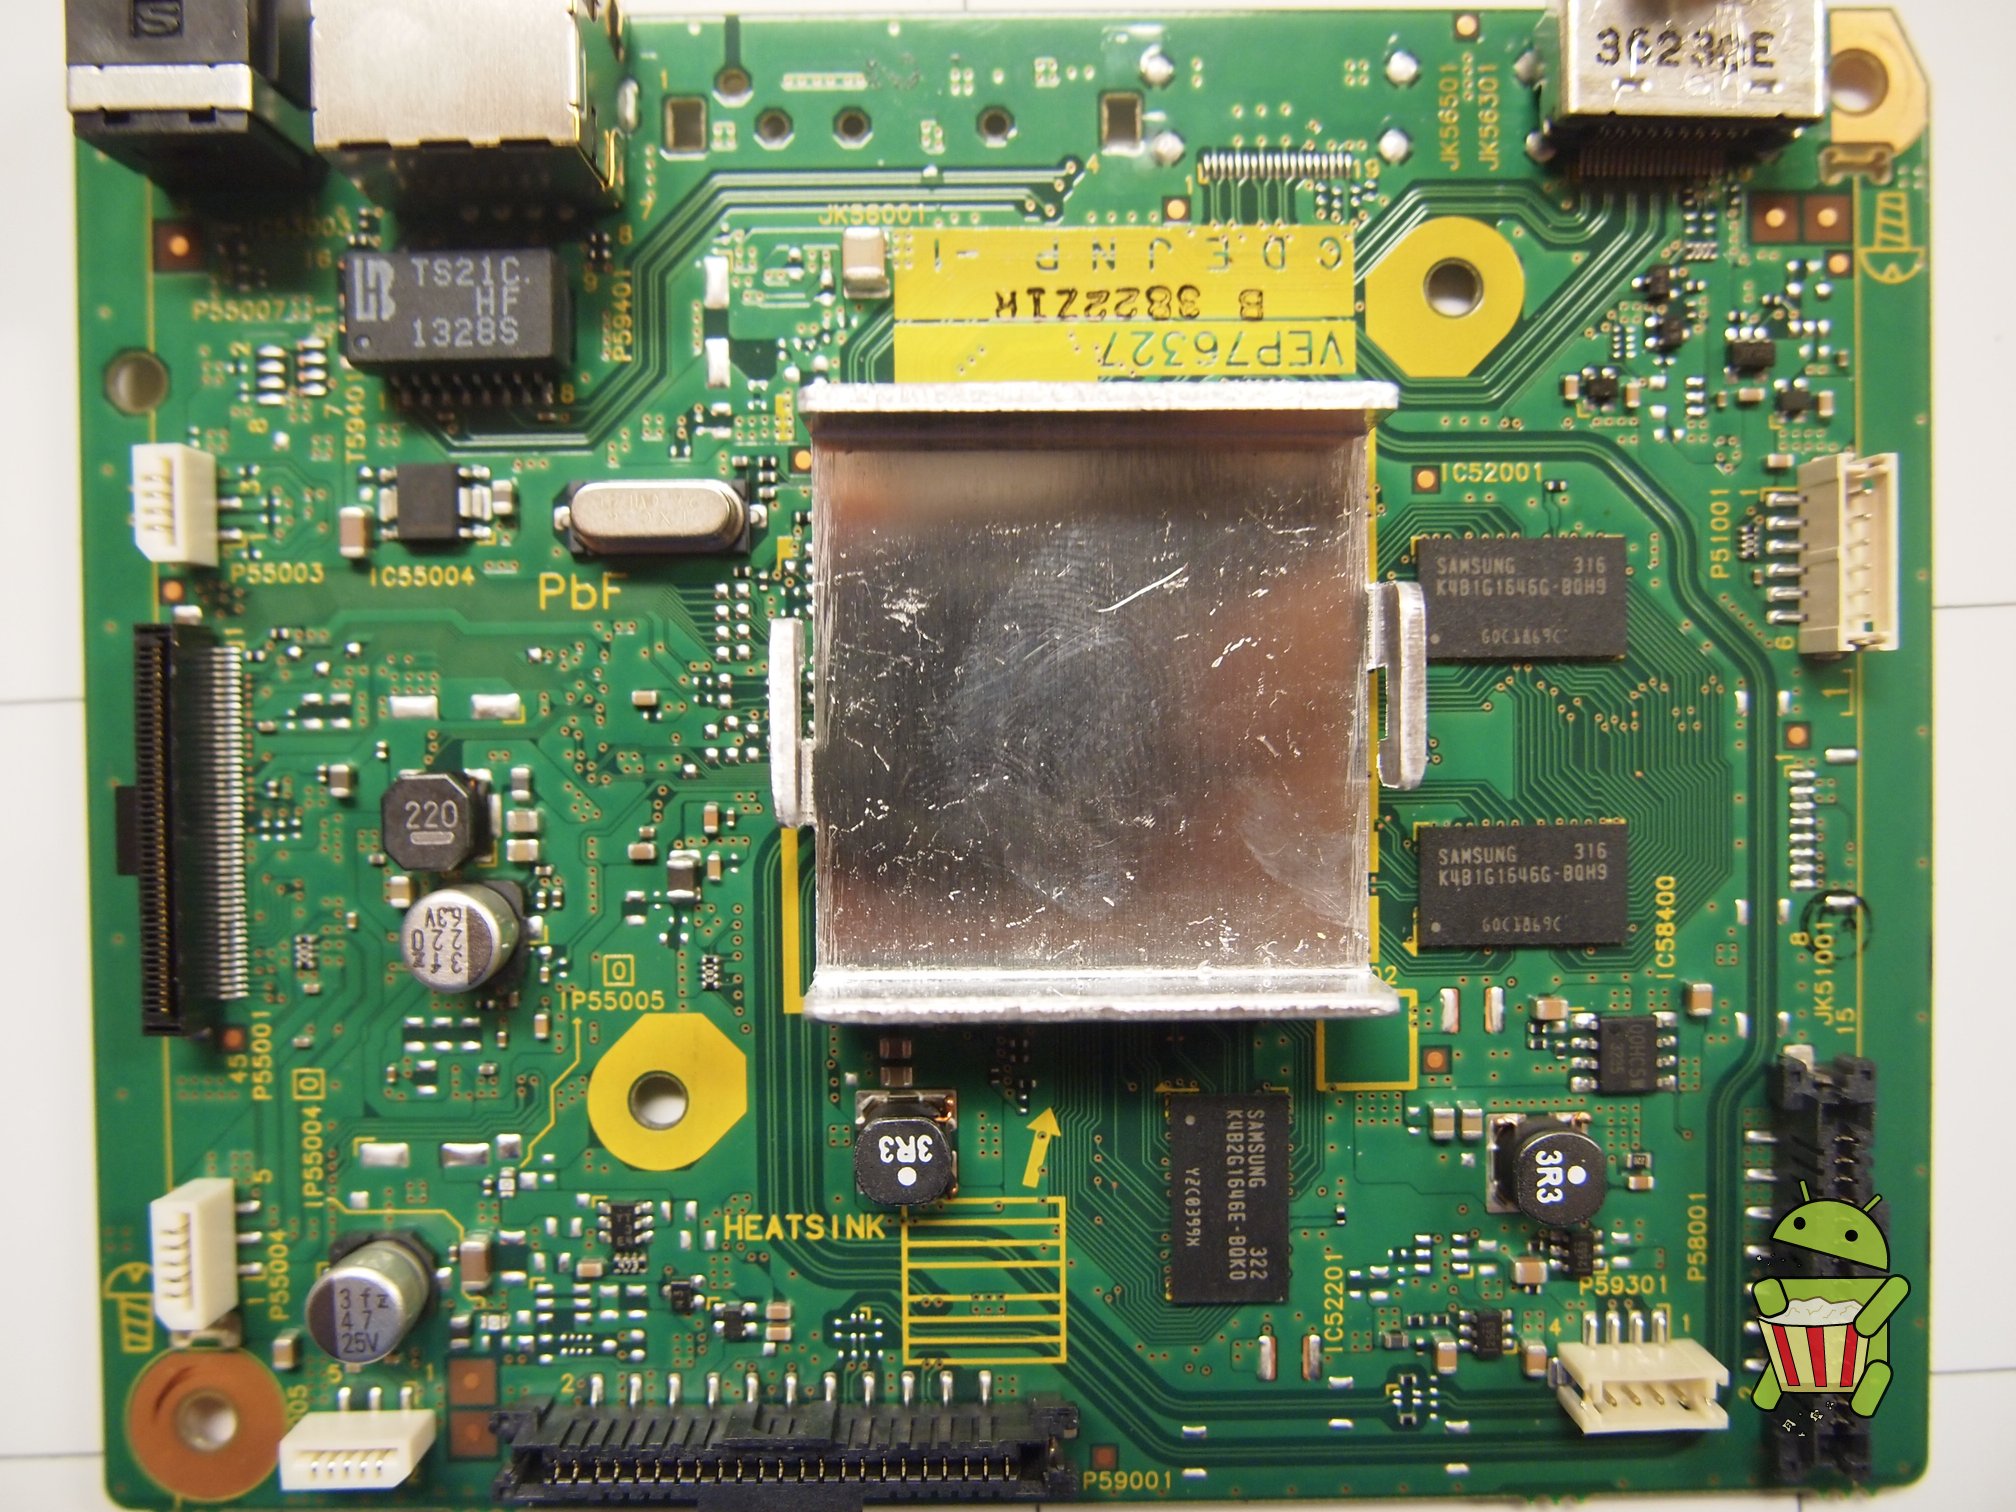
Disassembly
config_file.txt and config_file_global.txt
This Blu-Ray player uses a form of binary config files, to modify and parse this we have created the following tools.
- [parse_config.py] - Parses config files and gives a position that can be used to modify with edit_config.sh
- [edit_config.sh] - Modifies a config_file.txt or config_file_global.txt file based on a position and value.
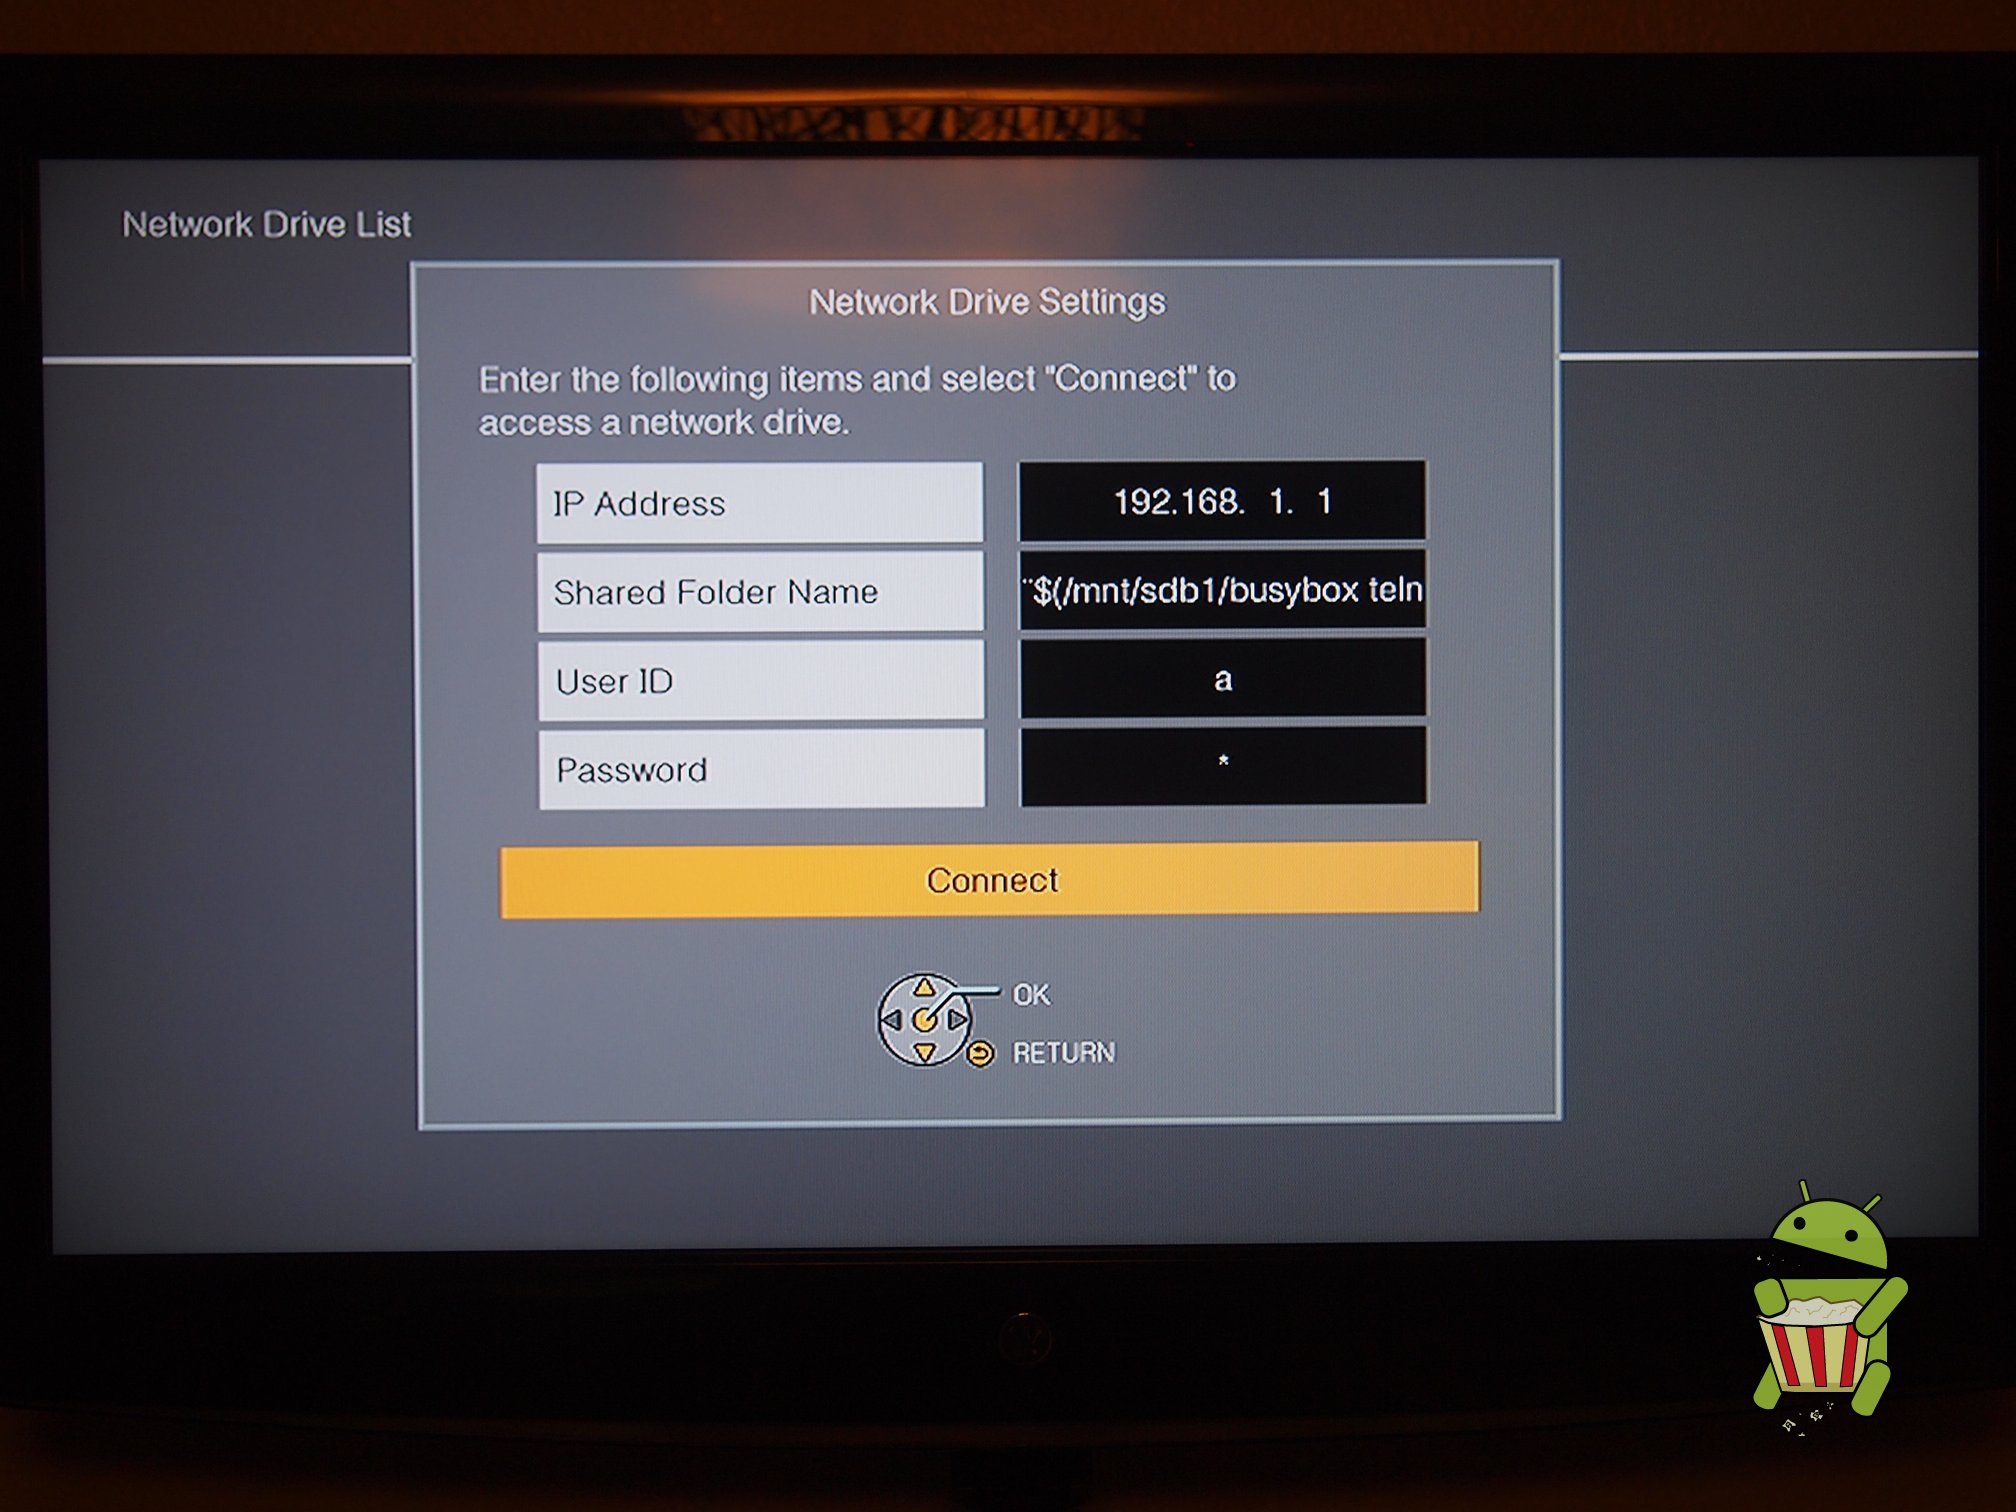
Network Drive Folder Name Command Injection
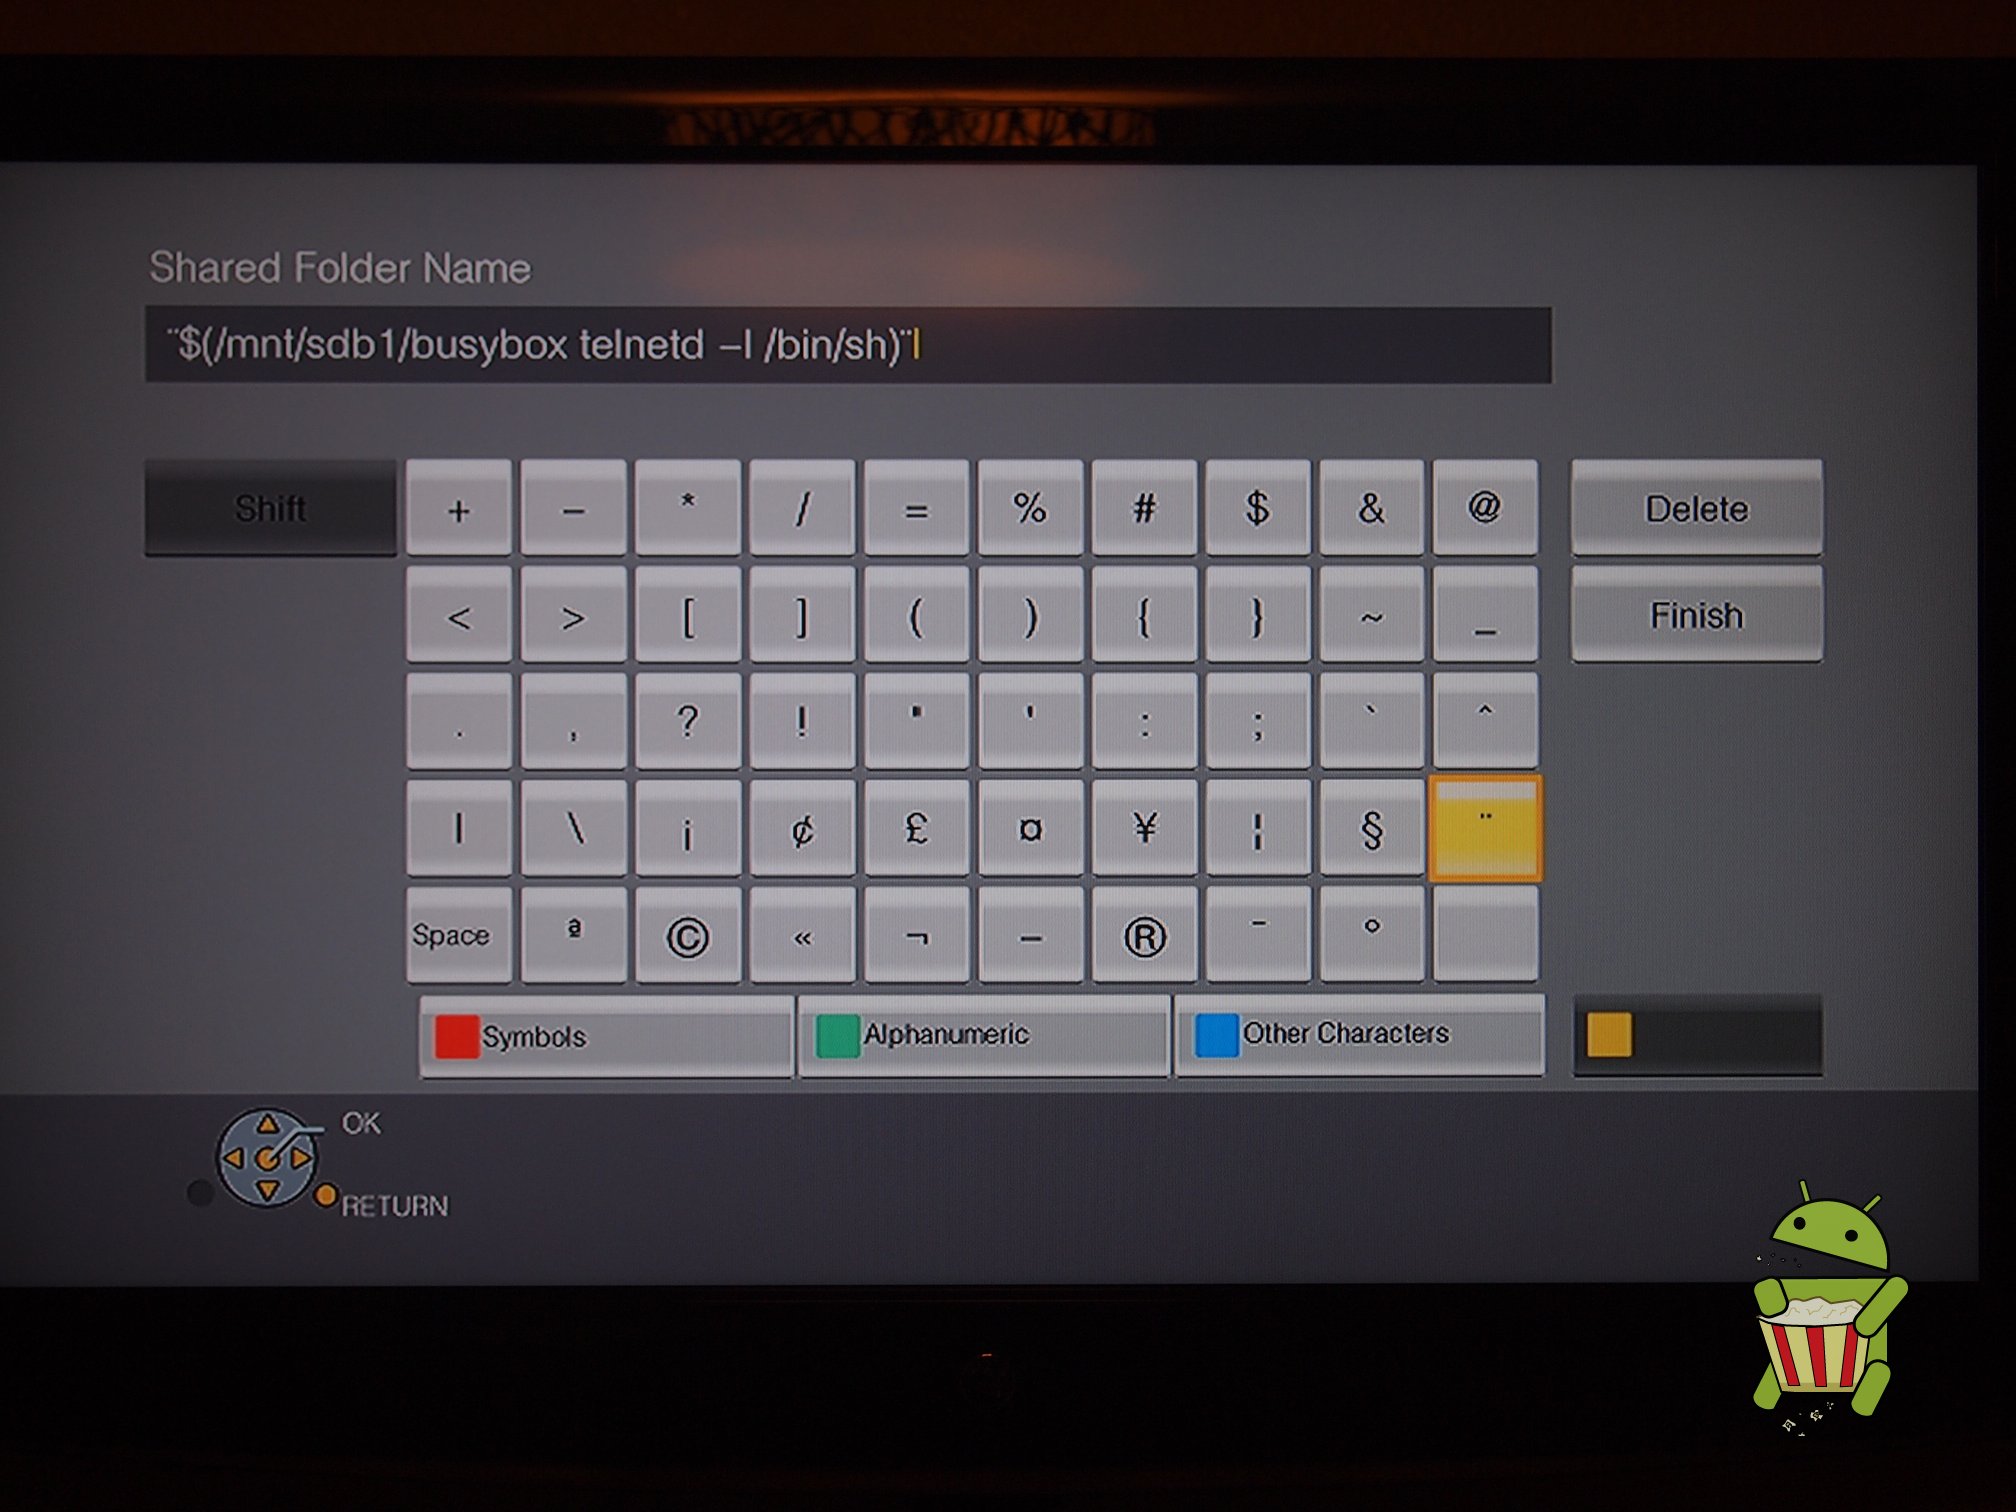
There is a command sanitization bug within the Network Share "folder name" field. When adding a network share a user is able to use a special syntax to execute root commands on the device.
- Click home to go to the main menu
- Hit up on the remotes arrow pad to take you to the "Network" menu
- Press Left on the remotes arrow pad to take you to the "Network Drive" menu.
- Press Up, left, OR right to take you to any of the available types ("Music", "Photos", "Videos")
- Choose "Add a network drive"
- Enter in any IP Address (EX: 127.0.0.1)
- Enter in the command you want to execute within the "Shared Folder Name" field in the following format $(COMMANDHERE). (EX:
$(reboot)) - Enter in any "User ID"
- Enter in any "Password" (EX: a)
- Click "Connect"
