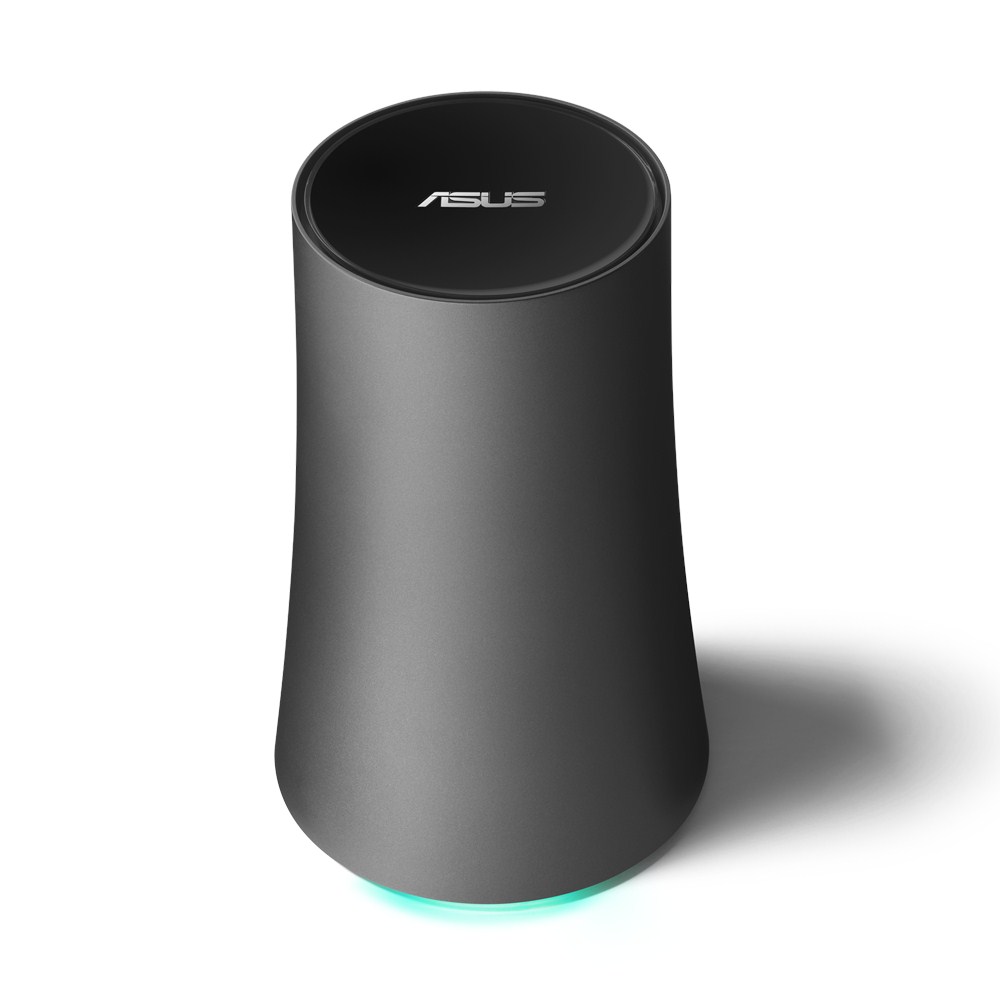
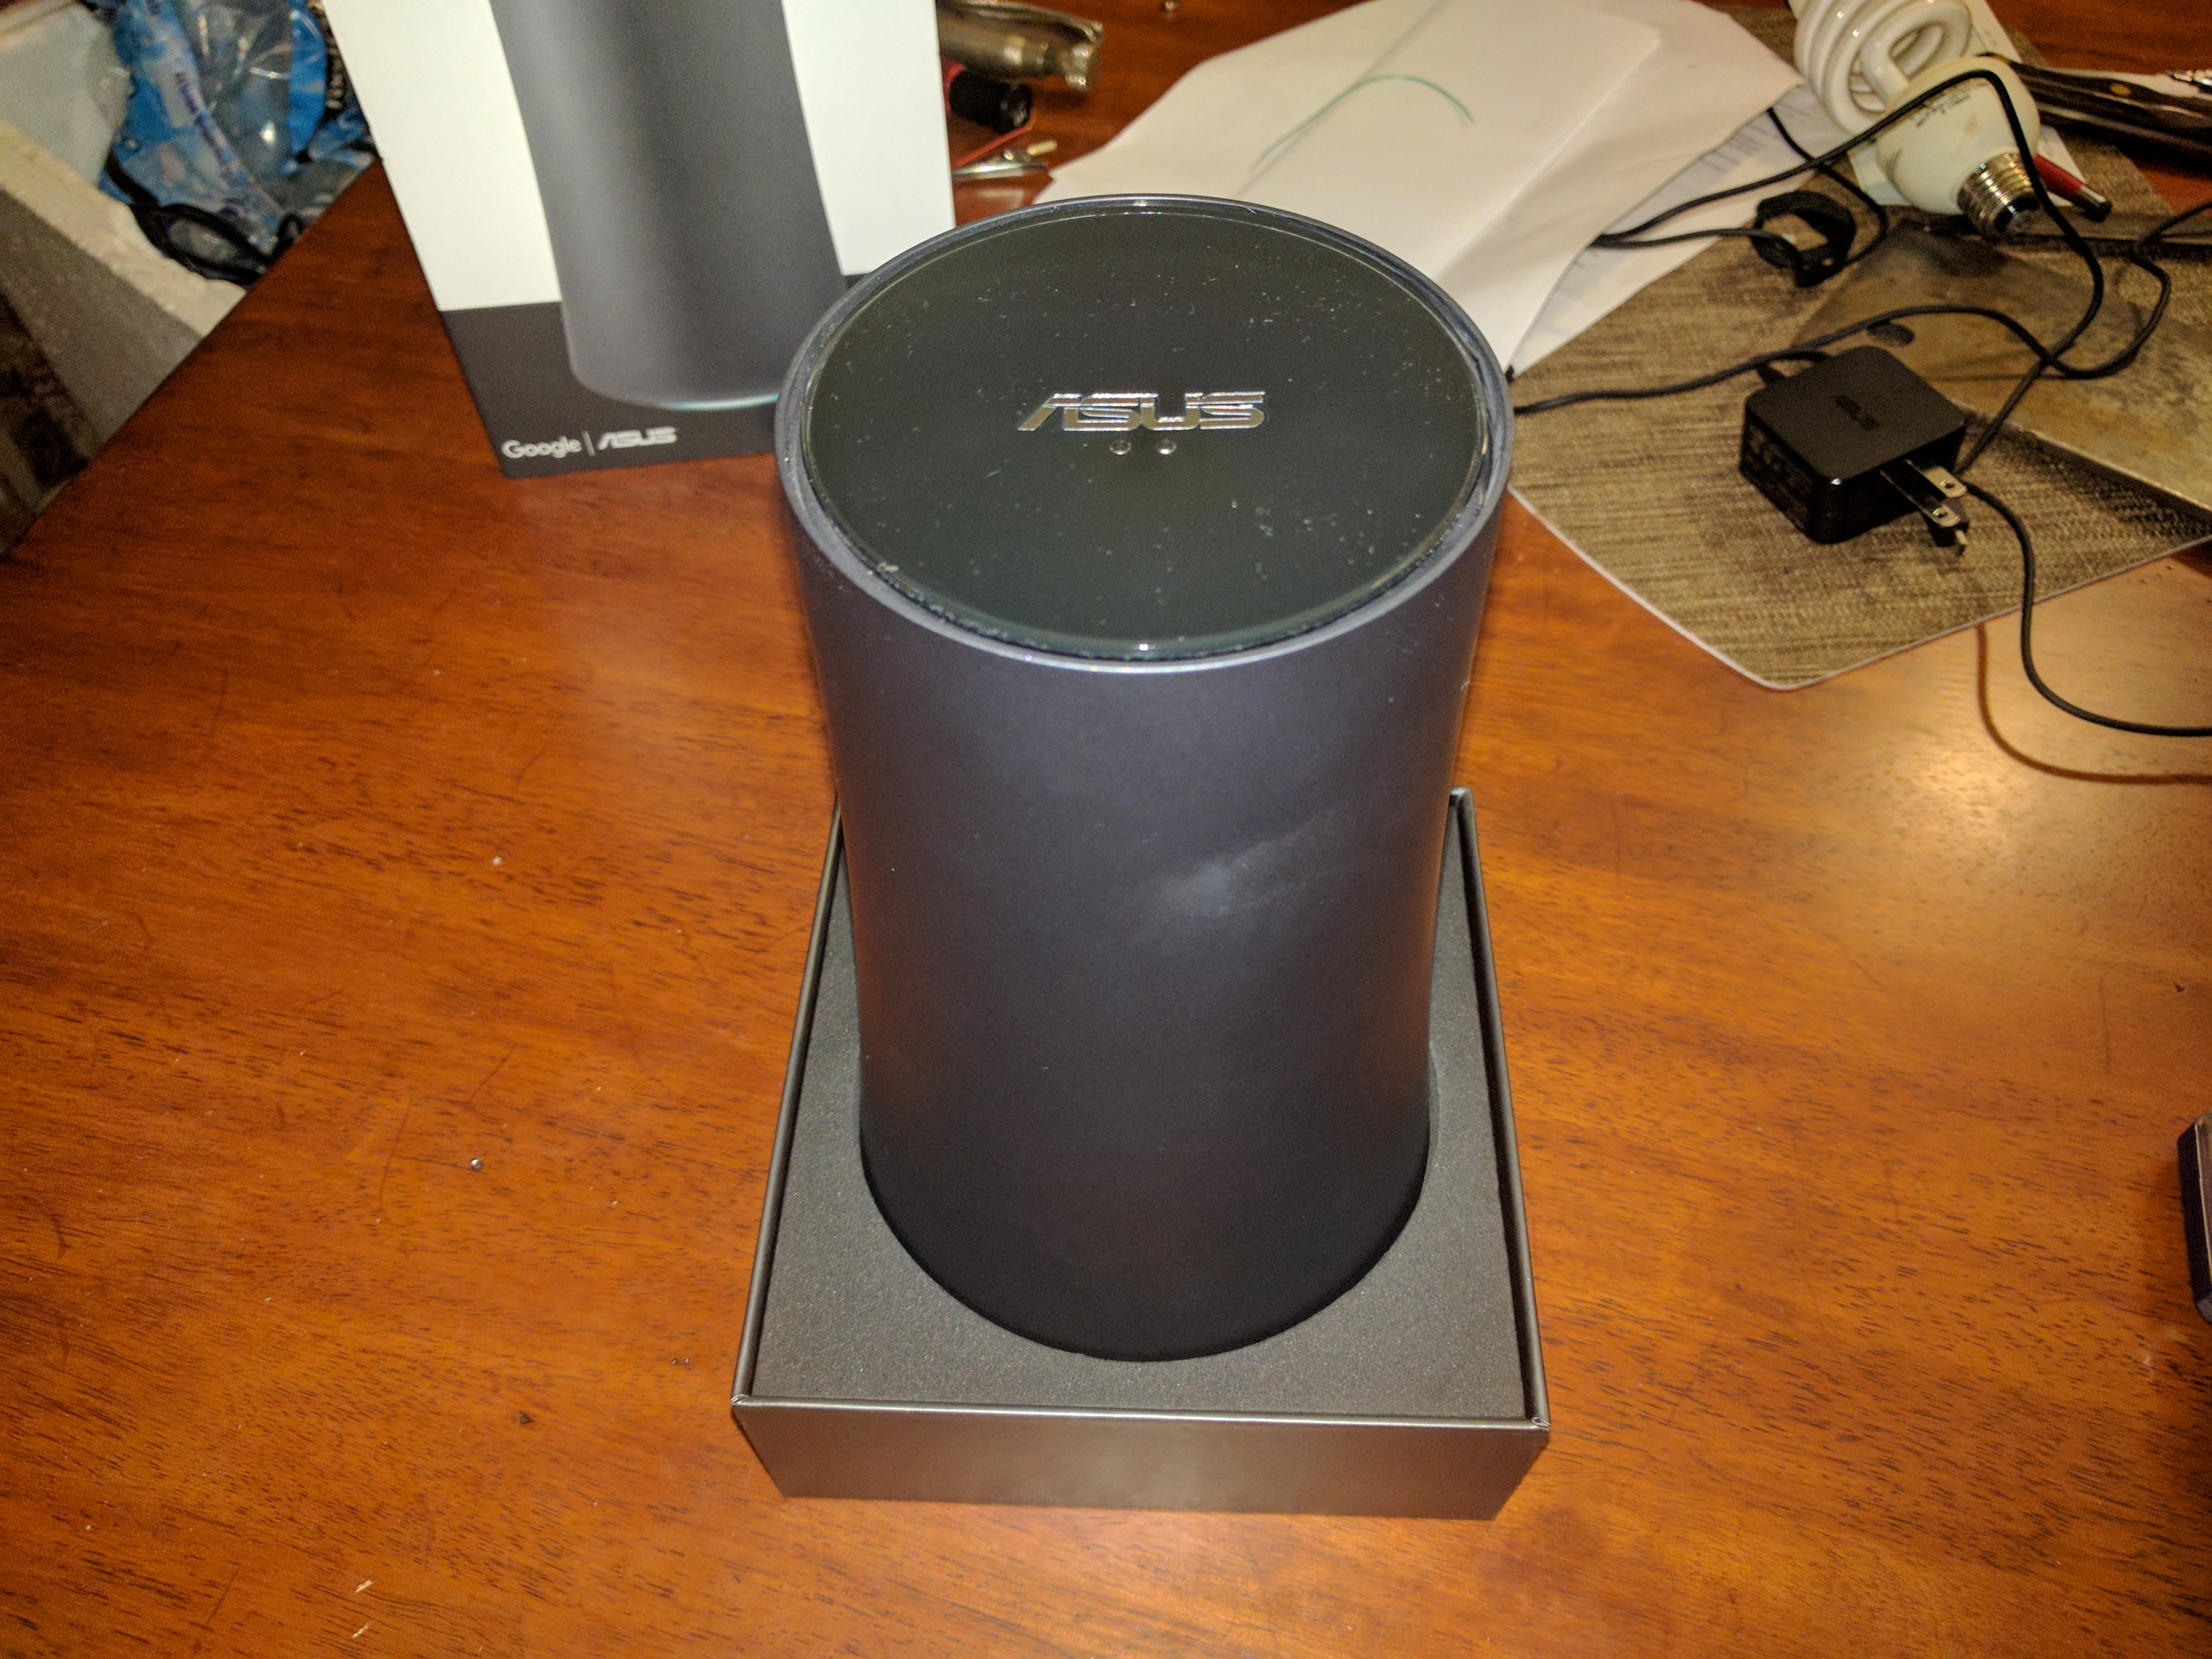
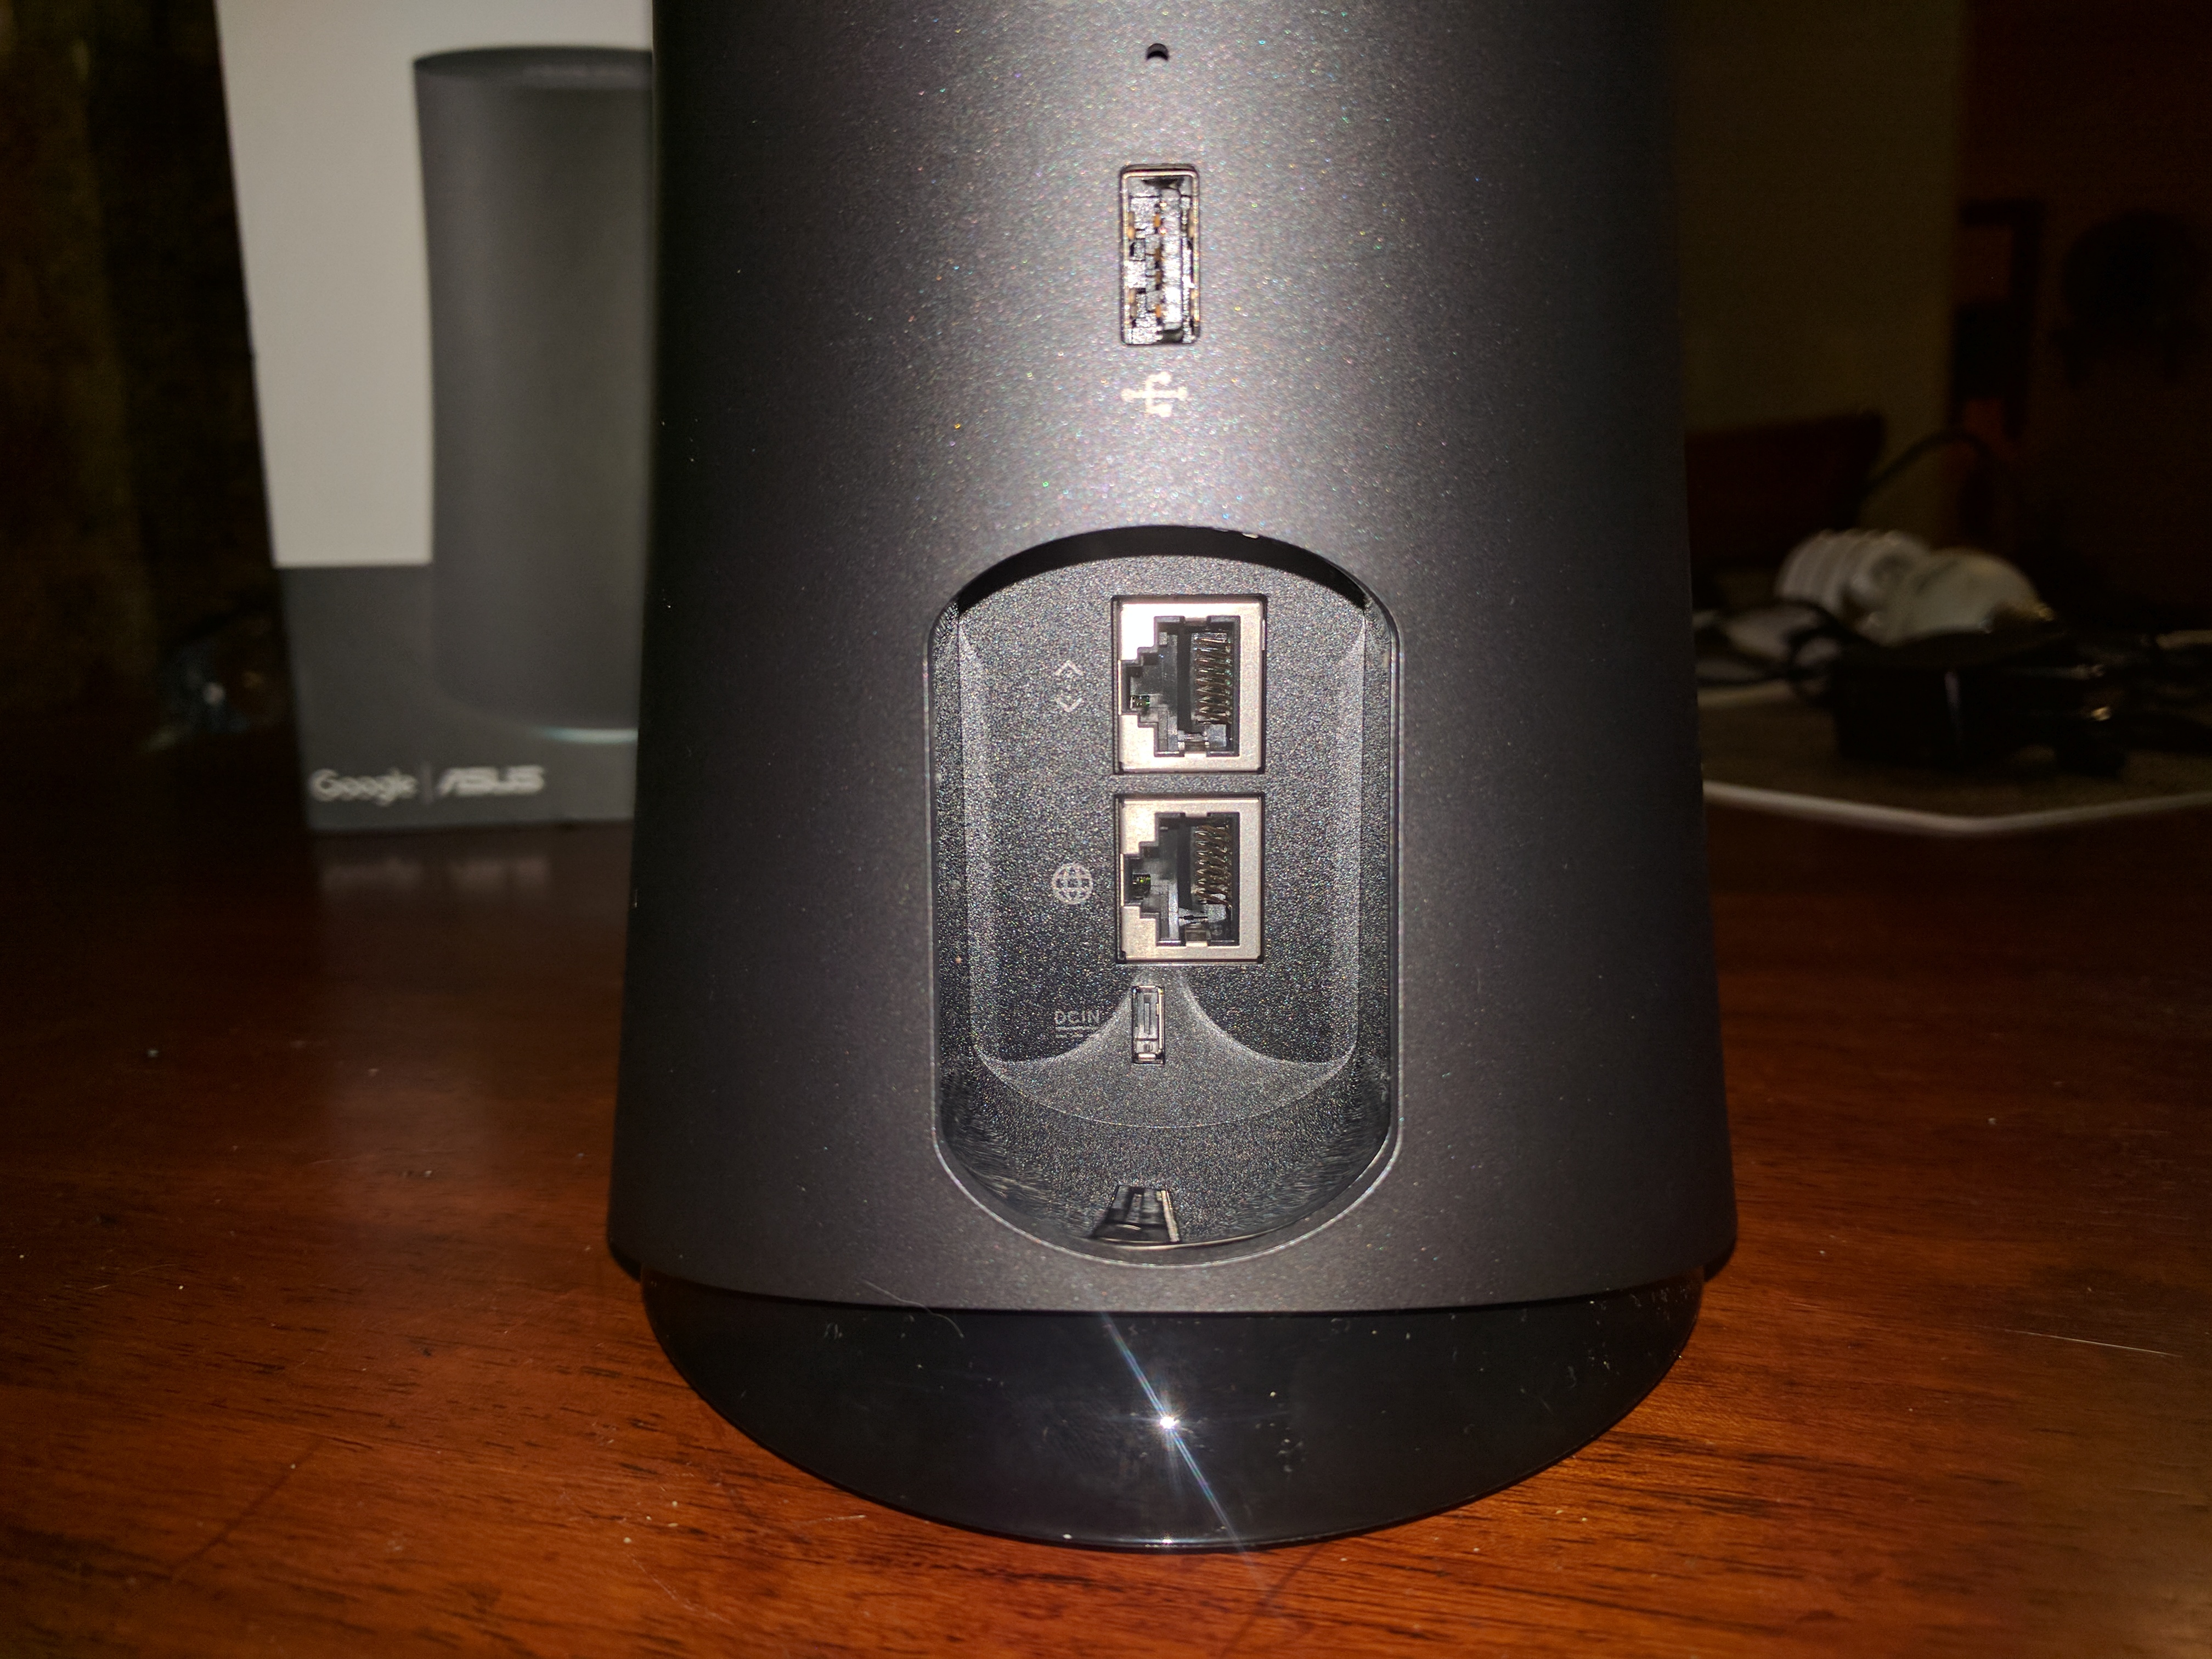
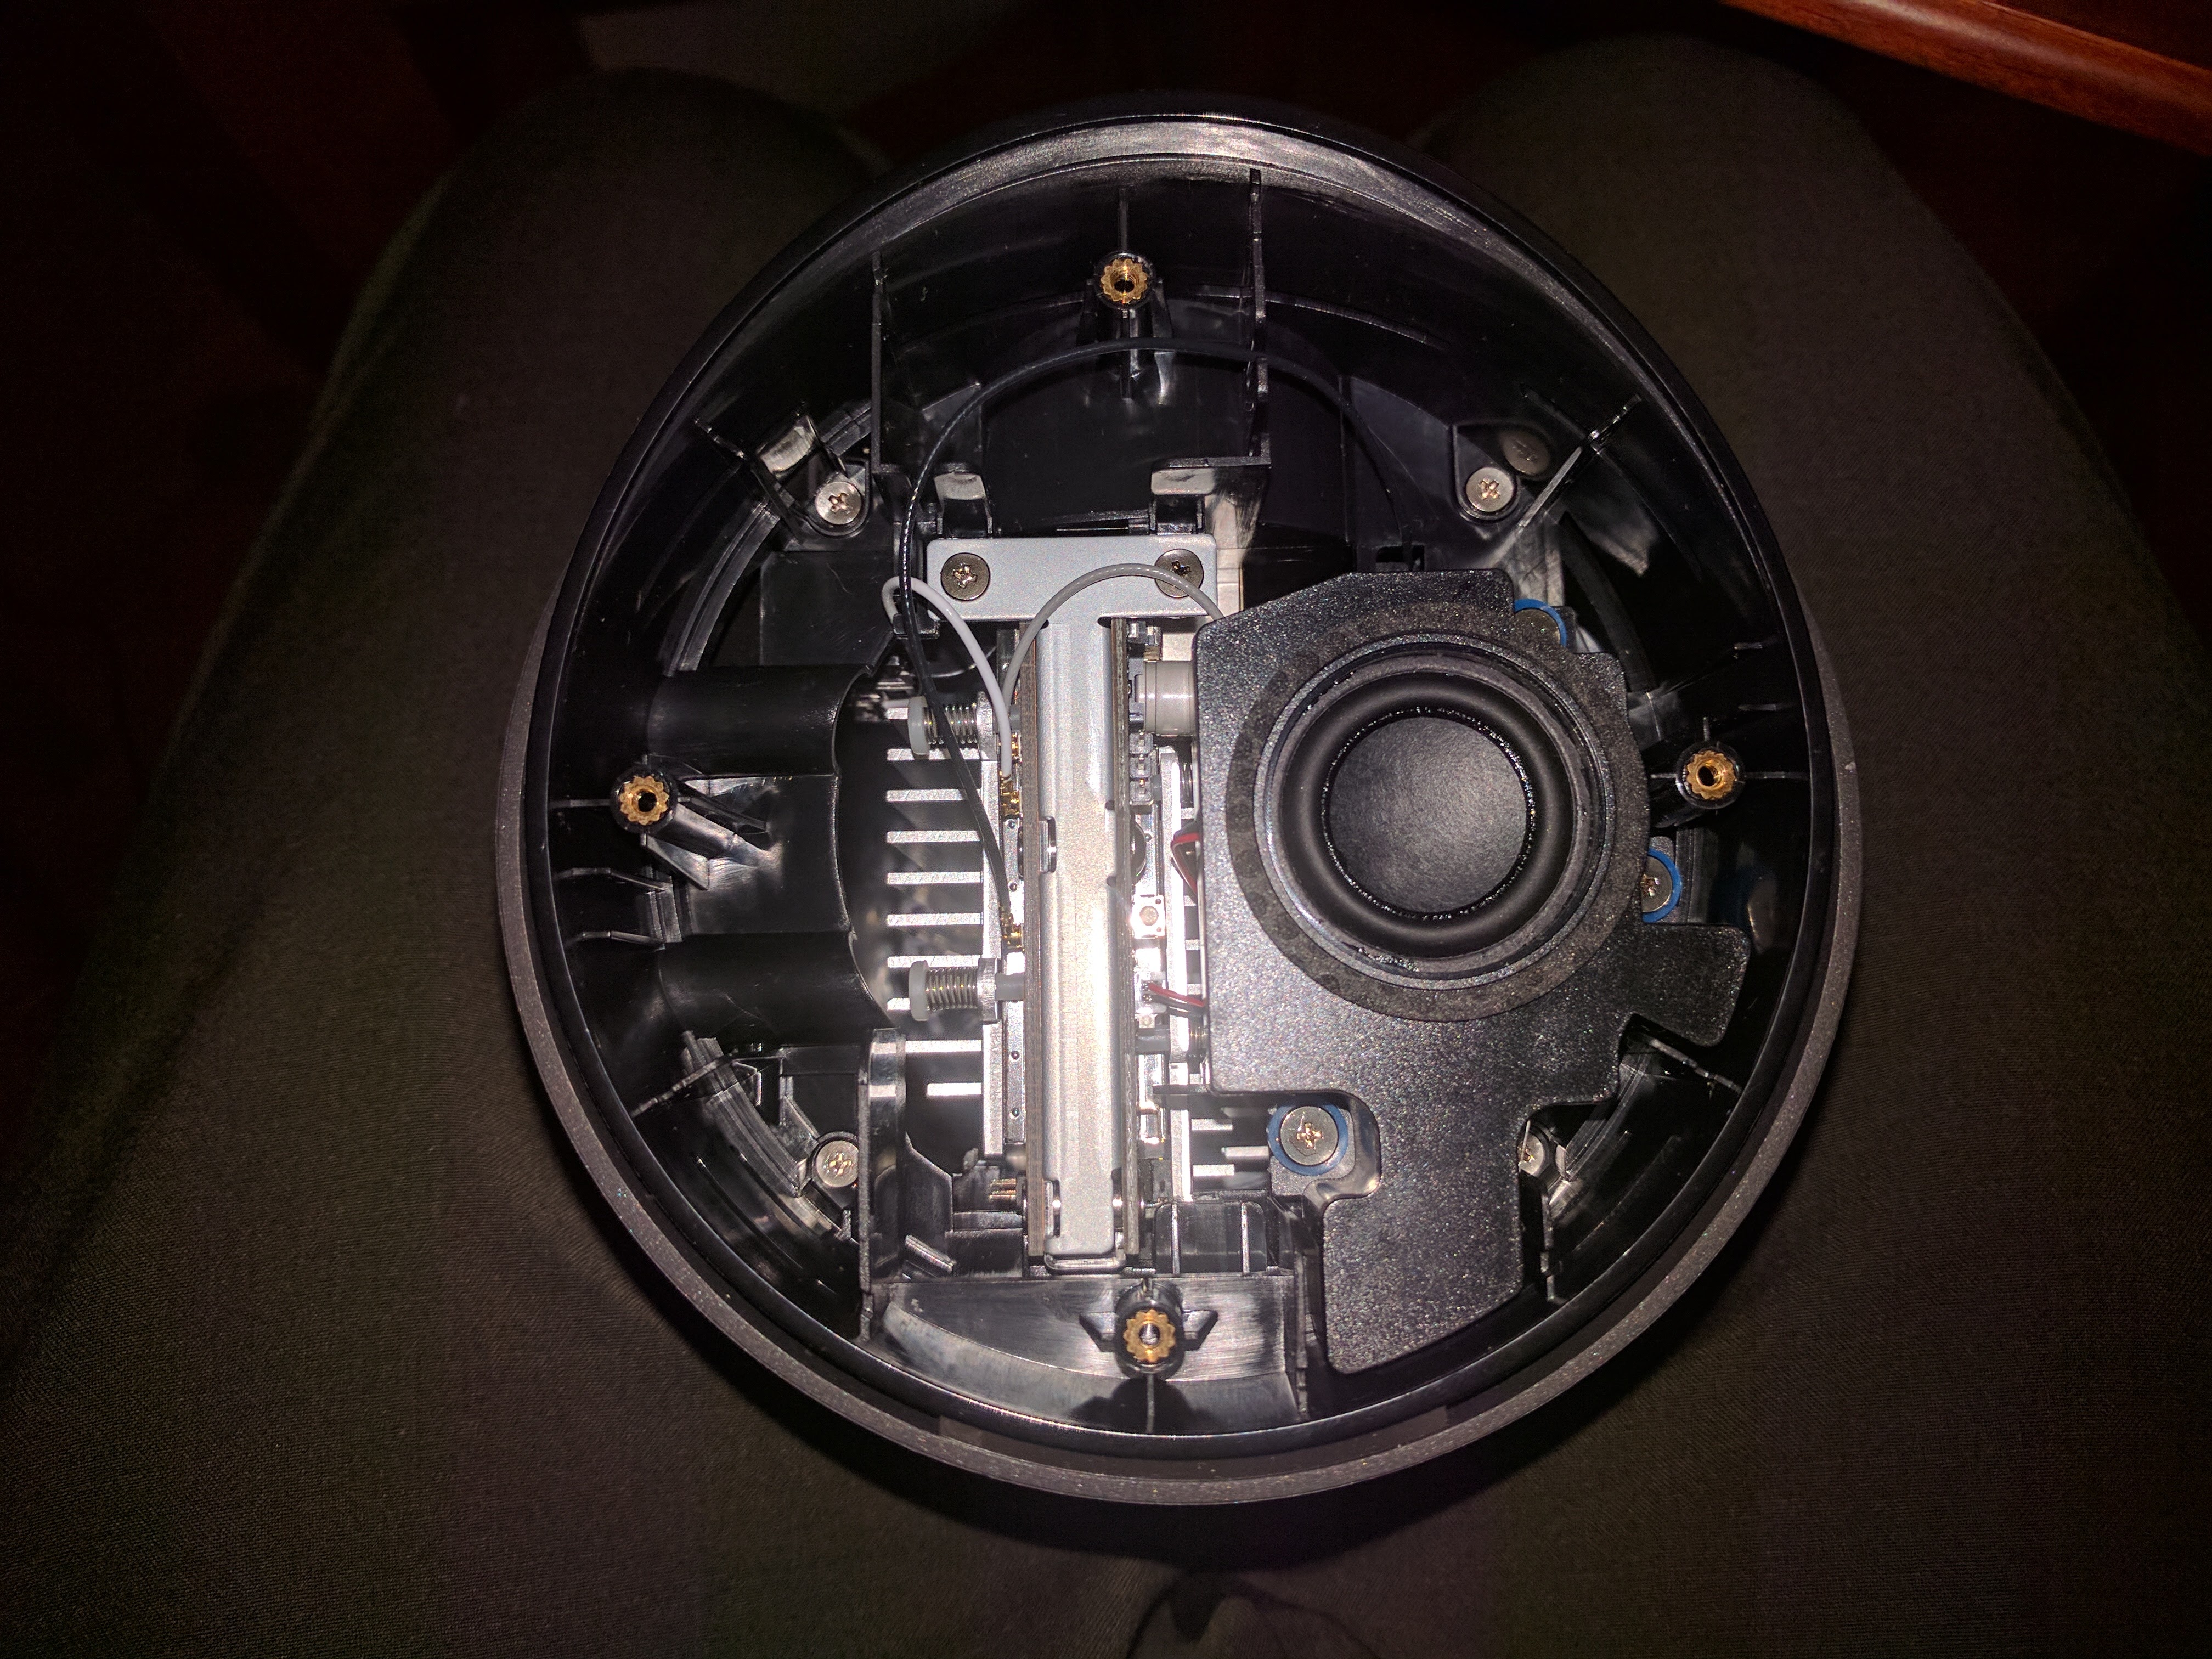
Asus OnHub
"Although the information we release has been verified and shown to work to the best our knowledge, we cant be held accountable for bricked devices or roots gone wrong."
Purchase
Buying devices is expensive and, in a lot of cases our testing leads to bricked equipment. If you would like to help support our group, site, and research please use one of the links below to purchase your next device. Purchase the ASUS Google OnHub at Amazon
Information
- Name: Asus OnHub
- Manufacturer: Asus
- Firmware Version: 8872.40.14
- Project code name: Arkham
- Board name: arkham
- Base board: storm
The router runs a version of ChromeOS.
Hardware Specs
These are the specs from the TP-Link and as far as I'm aware most if not all of the hardware is the same. Will update as I learn more.
- WiSoC – Qualcomm Atheros IPQ8064 dual core Krait processor @ 1.4 GHz
- System Memory – 1GB DDR3L
- Storage – 4GB eMMC, 8MB NOR flash
- Connectivity
- 802.11 b/g/n 3×3 with smart antenna
- 802.11 a/n/ac 3×3 with smart antenna
- AUX wireless (802.11 a/b/g/n/ac 1×1)
- 10/100/1000M Mbps WAN and LAN port (QCA9337 Gigabit switch)
- Compatible with Zigbee/Thread , Bluetooth 4.0
- Wireless Security – WPA2-PSK
- 13 antennas in total
- Supports up to 128 devices over WiFi
- USB – 1x USB 3.0
- Audio – 3W Speaker
- Security – Infineon SLB 9615 Trusted Platform Module
- Misc – 6x tri-color array LEDs, ambient light sensor
- Power Supply – 19V/1.75A DC, 100-240V 50-60Hz AC
- Dimensions – 19.05 cm (H) x 11.68 cm (⌀)
- Weight – 860 grams
Board Chipset
- Qualcomm Atheros IPQ8064 Internet Processor with 2 Krait 300 CPUs clocked at 1.4 GHz
- Micron MT41K256M16HA 4 Gb DDR3L SDRAM
- Qualcomm Atheros QCA8337
- Qualcomm Atheros QCA9882
- Qualcomm Atheros QCA9880
- Silicon Labs EM3581 SOC network co-processor for ZigBee
- Skyworks 66109 2.4 GHz ZigBee/Smart Energy front-end module
- Skyworks SKY2623L 2.4 GHz WLAN power amplifier
- Skyworks SKY85405 802.11ac 5 GHz WLAN power amplifier
- Atheros 3012-BL3D Bluetooth radio
- Bluetooth antenna
- Micron MTFC4GACAAAM 4 GB NAND flash
- Micron 25Q064A 64 Mb SPI flash
- Infineon SLB9615 Trusted Platform Module
Configuration
For the moment it is reported that this router can only be configured from the Android or iOS "Google OnHub" application.
Pictures
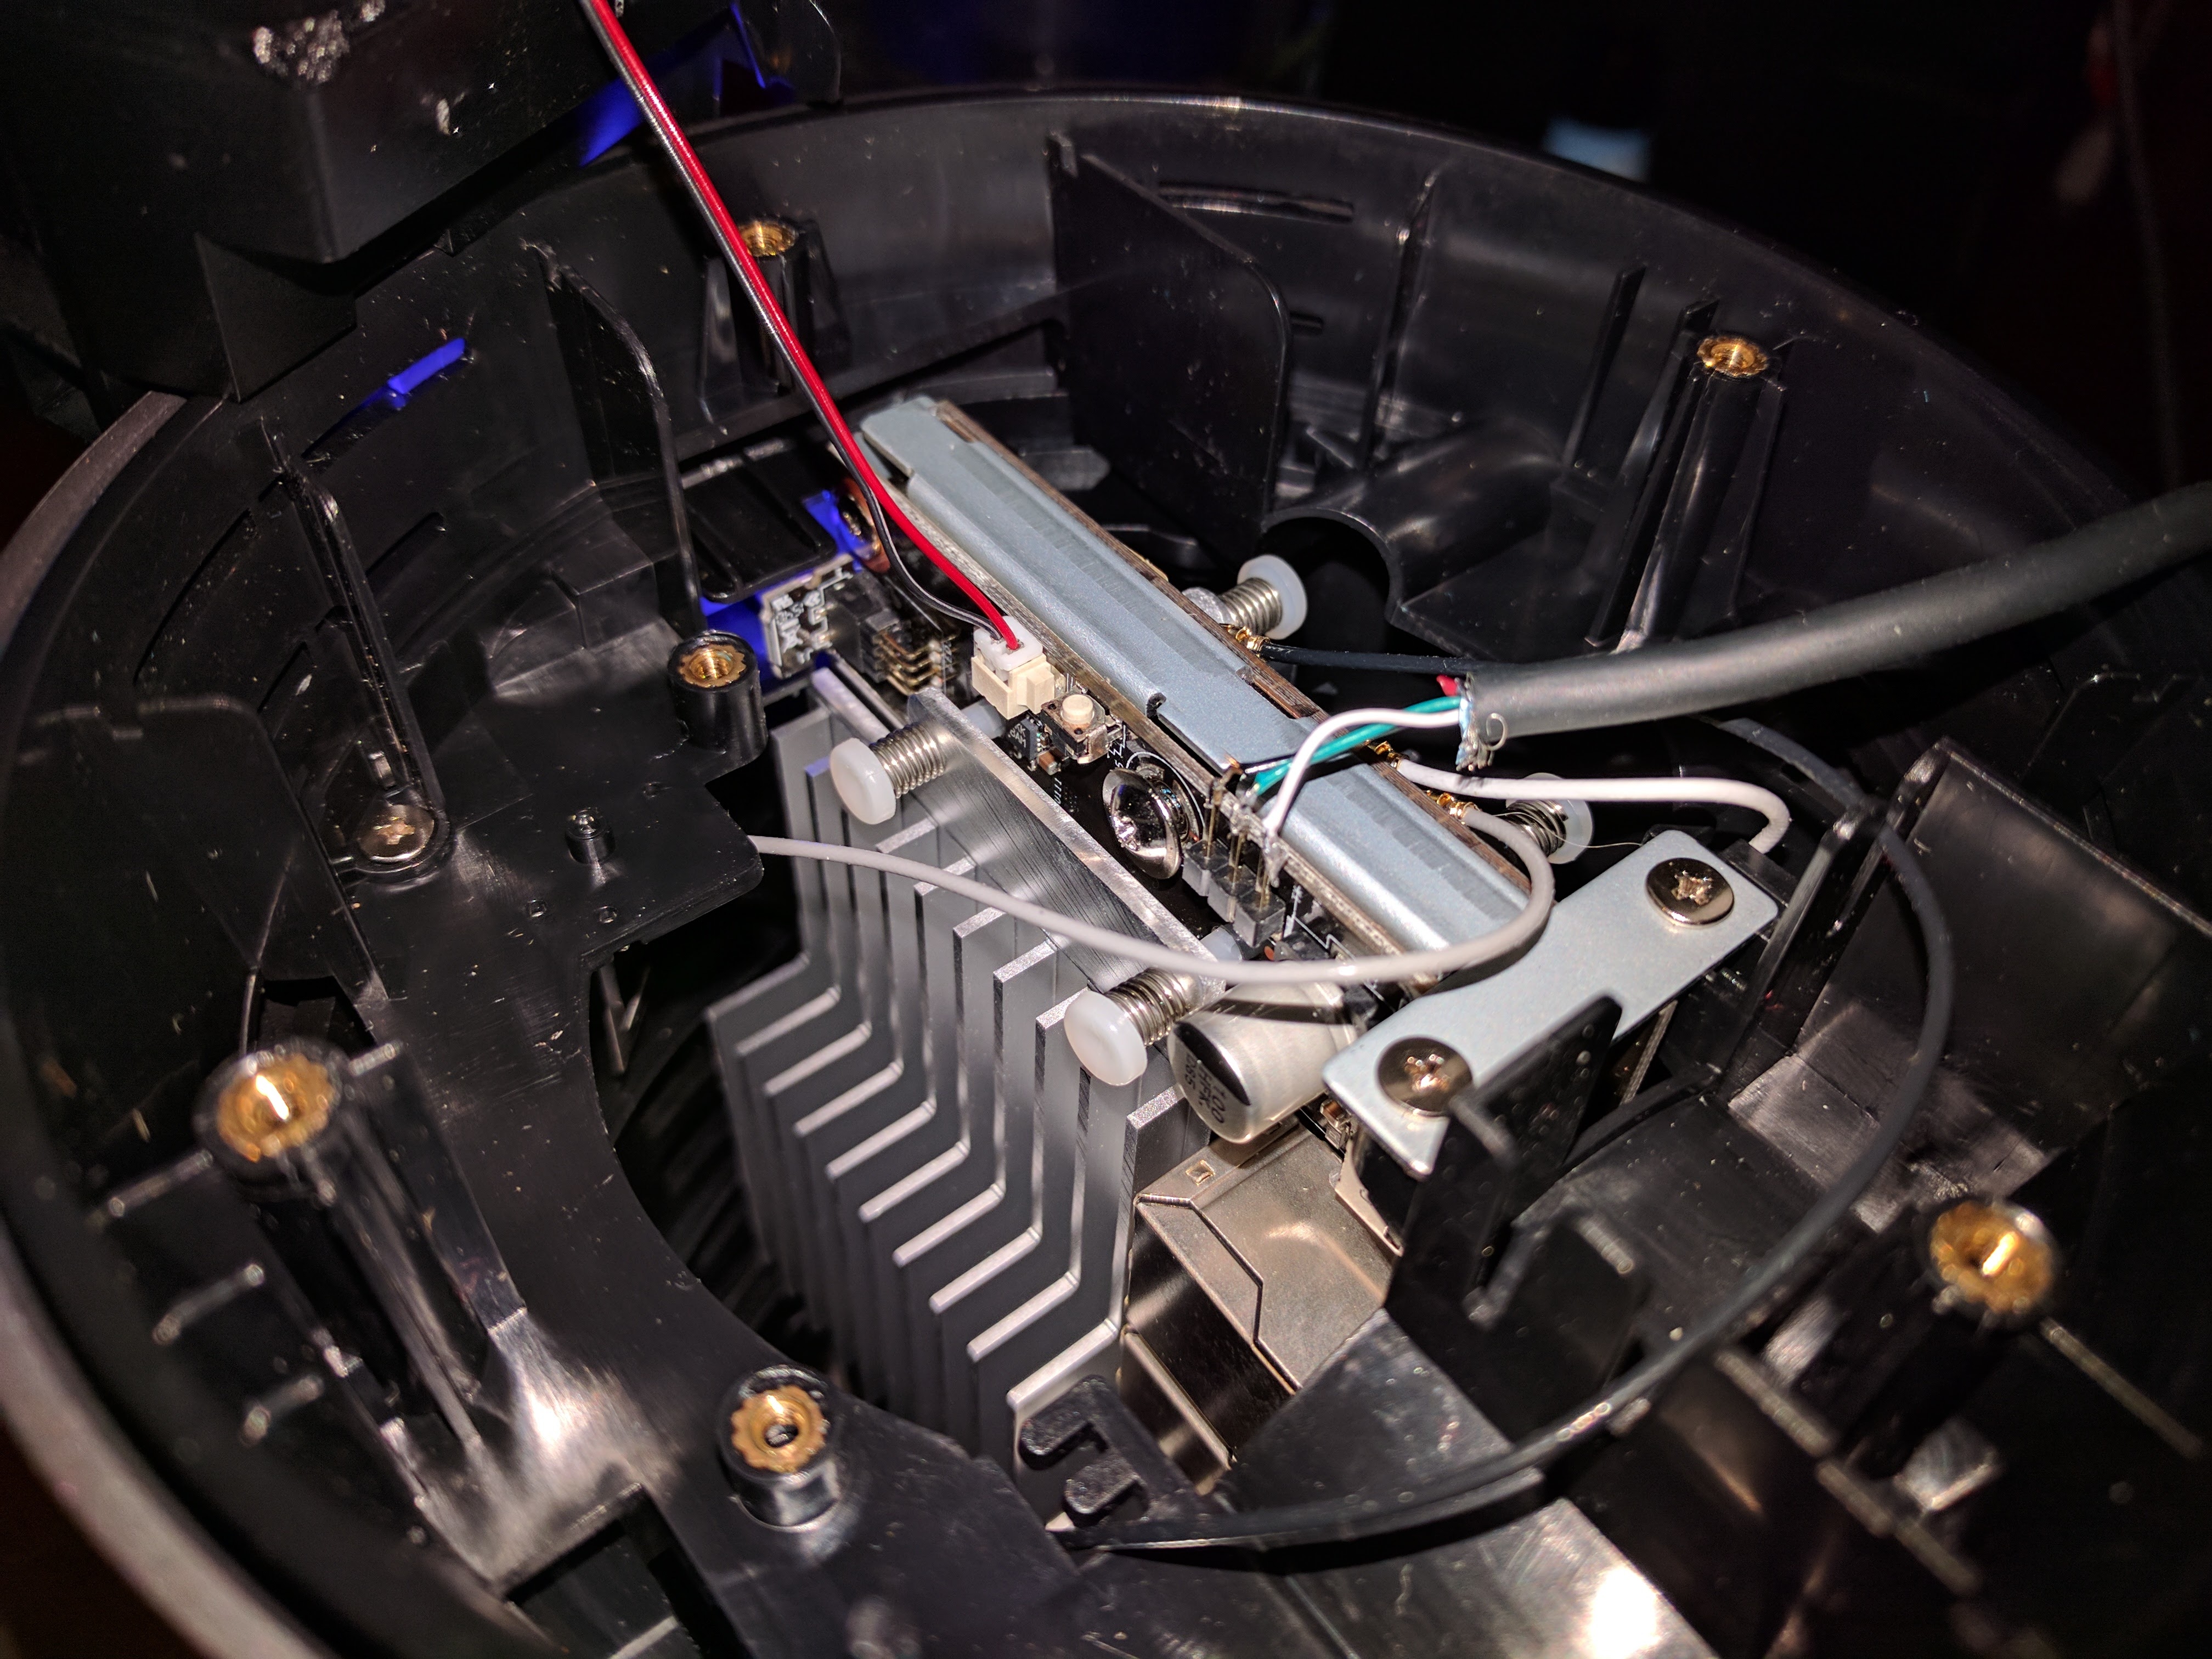
Disassembly
Root Access
Link above is for the TP-Link. Most of this guide is borrowed from there with a few changes.
Enabling "Developer Mode" on the OnHub
- Make sure your Google OnHub is unplugged
- Remove the bottom cover of the router (four screws under the feet)
- Plug a USB keyboard into the router's USB
- Hold down the reset switch on the router (above the USB port)
- Plug the power cable back in
- The LED strip on the device should turn white, then blink orange, then red
- After the LED starts blinking red, Press CTRL + D on your keyboard and the LED should now start blinking purple.
- Now press the hidden "developer mode" button next to the speaker connection
- The OnHub should then reboot and the LED should start blinking purple
- This indicates that we have successfully entered the Asus OnHub's "Developer Mode"
At this point make sure to undo the screw here
This disables the hardware write protect so we can generate new dev keys.
Getting serial access
This is the only method I have tried and used for now. I'm sure a USB image could be created but I do no yet fully understand the working there.
Right below the speaker connection and button you just used there is a header with 3 pins. Good news, it's serial! The adapter I used is a generic FTDI board. To make this easier on yourself, get a serial converter with barrel leads already on the wire.
Top is GND then RX then TX. Wire appropriately. Using your favorite console, set the baud rate to 115200. Power up (if not already) the OnHub and wait for it to boot. If you are already booted just press enter a few times to get the login shell. Default login is root:onhub (I personally used chronos:<no password> as I could then just sudo when needed)
First disable software protection (rest of these commands are in a root shell) and proceed to sign the new dev firmware along with disabling the rootfs verification.
# flashrom --wp-disable
# /usr/share/vboot/bin/make_dev_firmware.sh
# /usr/share/vboot/bin/make_dev_ssd.sh --remove_rootfs_verification --image /dev/mmcblk0 --partition 2
# /usr/share/vboot/bin/make_dev_ssd.sh --remove_rootfs_verification --image /dev/mmcblk0 --partition 4
Now here's where it get's slightly tricky but not too bad. Since we are booted into one of the live partitions we have to first modify the unused one, set the unused to to used on next boot, reboot the router, and proceed to modify the one we were in before.
Also you need to grab the following archive and put it on a flash drive https://drive.google.com/open?id=0B2cSlWc2yl7EUW14WXFkWlhfZ1E
Put flash drive in OnHub and run these commands
# cd /home/chronos
# mkdir usb roota rootb
# mount /dev/sda1 usb/
Now one of these next command will fail. Make note of the partition.
# mount /dev/mmcblk0p3 roota/
# mount /dev/mmcblk0p5 rootb/
Whichever one didn't fail extract that archive to it
# tar xvf usb/files.tar.gz -C rootX/
# chmod 755 rootX/bin/busybox
Now we need to reboot into what we just modified (X being that partition number) If this fails it only tries one time so it will boot back if something goes wrong.
# cgpt add -i X -P 5 -T 1 -S 0 /dev/mmcblk0
Pull the power and make sure to remove the USB drive. Let it boot back up and remount the flash drive and partition you were just in. X here is NOT the one you just used above.
# cd /home/chronos
# mount /dev/sda1 usb/
# mount /dev/mmcblk0pX rootX/
# tar xvf usb/files.tar.gz -C rootX/
As a final check make sure both partitions contain /bin/busybox and the other files that got extracted.
The TP-Link guide now says to take it out of dev mode but I've just left mine in in case I need to do anything. No harm really. Reboot once more for safe keeping and you should now have a system you can access either via telnet or ssh (Be sure to edit the dropbear.conf file as it hardcodes credentials. There's a fix by using a different binary but I don't have it handy at the moment)
